دستهبندی: ماژول های کنترل شارژ و دشارژ
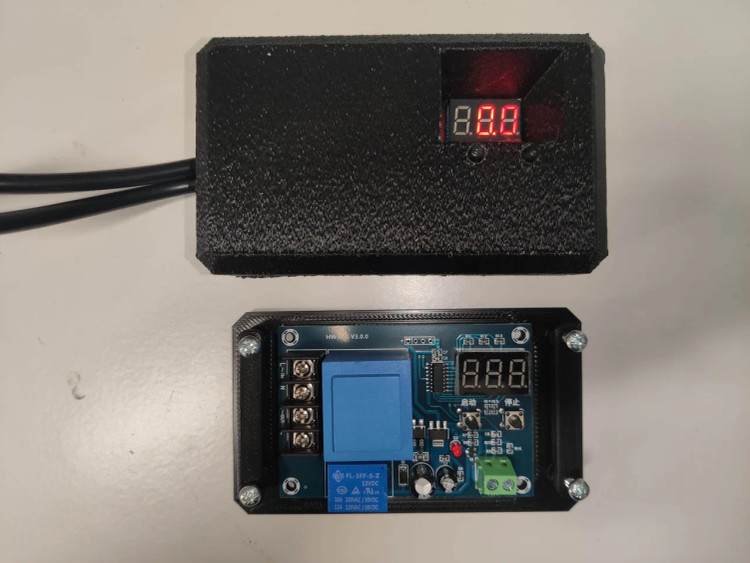
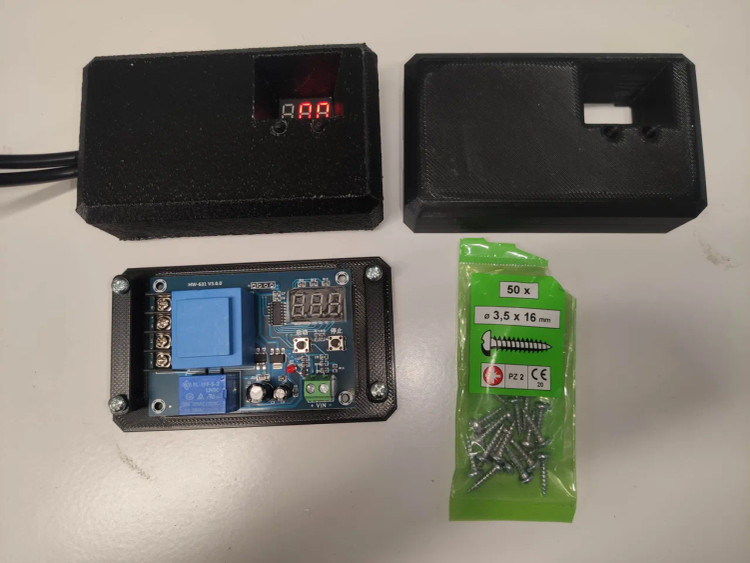

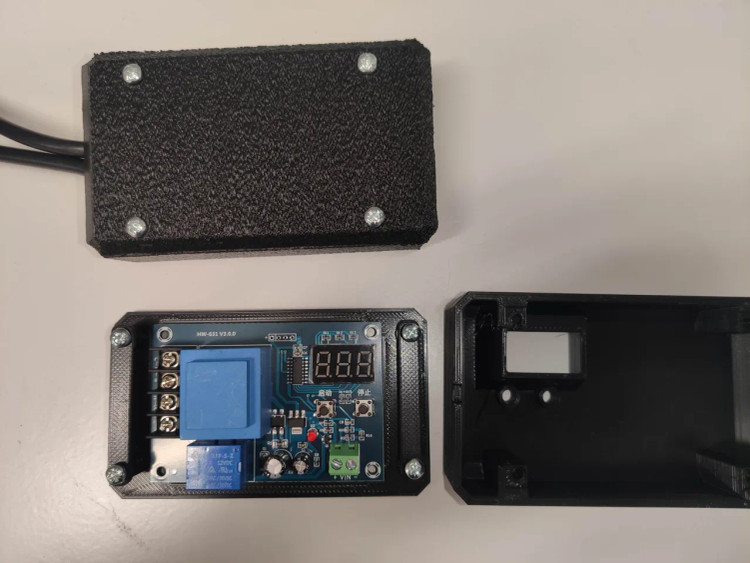
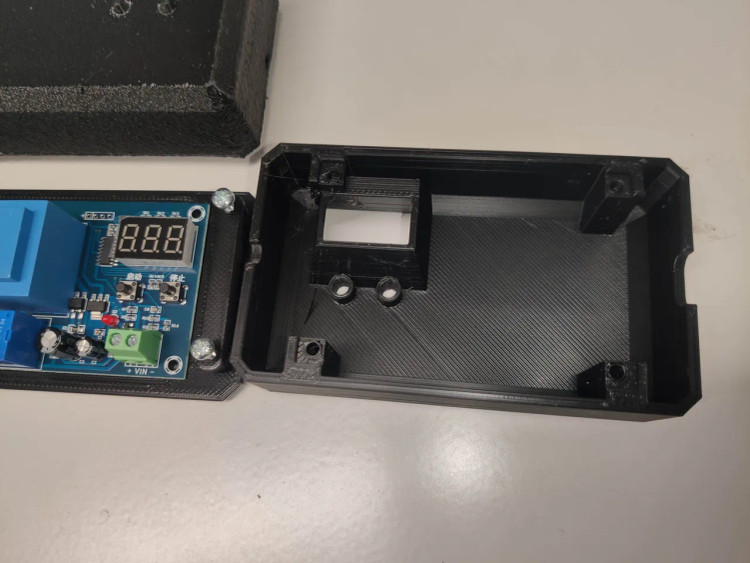
ماژول کنترل شارژ باتری با مدیریت دیجیتال و تنظیم ولتاژ به همراه کیس
XH-M602 Enclosure / Case / Box --- Digital Control Battery Charging Control Module AC 220V Lithium Storage Battery Charger Control Switch Protection Board
برند:Novinelec
تنوع رنگ
زمان آمادهسازی 2 روز کاری
توضیحات
مشخصات :
- ولتاژ ورودی: 10 تا 30 ولت مستقیم
- دقت نمایشگر: 0.1ولت
- دقت کنترل: 0.1ولت
- تیپ خروجی: خروجی مستقیم
- تلرانس ولتاژ: ±0.1V
- مناسب باتری های 12 و 24 ولت
- سایز: 83×58 میلیمتر
نحوه کار :

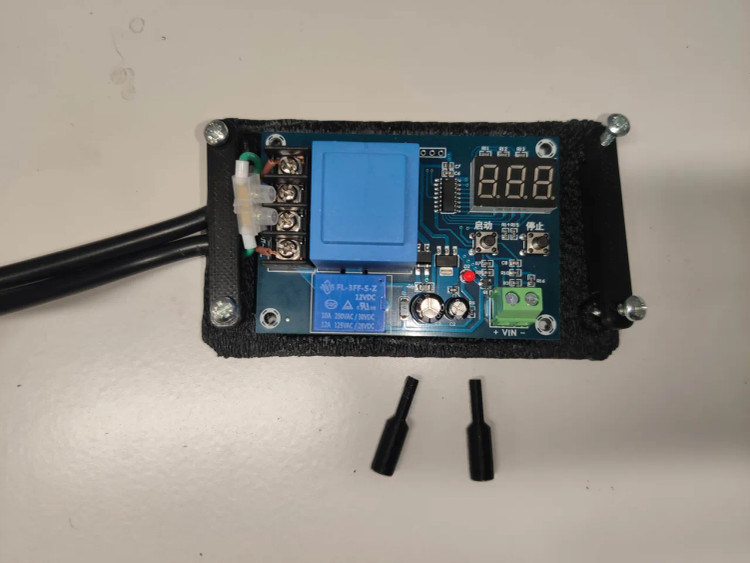
بر روی این ماژول و زیر سون سگمنت دو عدد تک سوییچ با نام های start و stop موجود می باشد .
هنگامی که به مدار ولتاژ متصل نمایید هیچ LED یا سون سگمنت روشن نخواهد شد برای کار و تنظیم ماژول می بایست باطری را به ترمینال های BAT- و یا BAT+ متصل نمایید بر روی سگمنت ها ولتاژ نمایان خواهد شد و پس از گذشت زمانی رله نیز فعال گردد و LED روشن می شود . سپس می توانید مراحل زیر را طی کنید .
تنظیم ولتاژ شروع به شارژ :
با استفاده از دکمه Start می توانید ولتاژ شروع شارژ را تعیین کنید. برای این کار با فشردن و نگه داشتن 3 ثانیه ای دکمه start سگمنت به حالت چشمک زن تبدیل می شود با فشردن مجدد دکمه های start و stop ولتاژ شروع شارژ را می توانید تغییر دهید .
تنظیم ولتاژ قطع شارژ :
با استفاده از دکمه stop می توانید ولتاژ قطع شارژ را تعیین کنید. برای این کار با فشردن و نگه داشتن 3 ثانیه ای دکمه stop سگمنت به حالت چشمک زن تبدیل می شود با فشردن مجدد دکمه های start و stop ولتاژ قطع شارژ را می توانید تغییر دهید .
بازگردانی به حالت کارخانه و پیش فرض:
با فشردن و نگه داشتن همزمان دکمه های start و stop عدد 888 بر روی سگمنت نمایان می گردد و پس از مدتی سگمنت به حالت عادی برمی گردد . پس از این حالت کلیه اطلاعاتی که تنظیم کرده بوده اید از بین رفته و ماژول به حالت کارخانه بر می گردد
از این ماژول می توان برای شارژ انواع باتری های لیتیومی، خشک، اسیدی، نیکل-کادمیوم و … استفاده کرد.
تغذیه ماژول از ترمینال باتری b+ , b- بوده و ترمینال مثبت ورودی کاملا از برد ایزوله می باشد .
با شارژ شدن باتری ها جریان باتری قطع خواهد شد.
شکل مداری خروجی این ماژول:

راهنمای اتصال به شارژر، سولار و باطری:


راهنما:

XH-M603 Charging Control Module 12-24V Storage Lithium Battery Charger Control Switch Protection Board
Product Introduction:
1.Model:XH-M603
2.Input Voltage:DC 10-30V
3.Display Precision:0.1V
4.Control Precision:0.1V
5.Output Type:direct output
6.Voltage Tolerance:+/-0.1V
7.Application Fields:12-24V storage battery
8.Size;82*58*18mm
Using Method:
1.Set Starting Voltage:in normal display voltage state,press the button will display start charging voltage;long press for 3s the digital tube will flash;you can start or stop button to set starting up charge voltage value
2.Set Stop Voltage:in normal display voltage state,press the button will display stoping charge voltage;long press the button for 3s the digital tube will flash;you can start or stop button to set stoping charge voltage value
3.Factory Reset:in power on state press the start/stop button at the same time,digital tube will display 888;that represents factory reset settings
Quick Start Guide
Here are some steps that will help you to use your HW-632/XH-M603 module:
- Connect your rechargeable battery to the module’s battery (BAT) terminals, ensuring proper polarity. After a while the LED display will show the exact battery voltage. Keep note, the module draws power from the battery for its operation, not from the battery charger.
- In the normal display mode, pressing the UP/START button will display charging start voltage. You can long press it for around 3 seconds to see a flashing display. Then you can use the UP and DOWN buttons to set the start voltage value. In the end, leave the button until flashing stops and the chosen voltage will be set.
- Likewise, in the normal display mode, pressing the DOWN/STOP button will display charging stop voltage. You can long press it for around 3 seconds to see the flashing display and can use the UP and DOWN buttons to set the stop voltage value. In the end, leave the button until flashing stops and the chosen voltage will be set.
- Now connect the battery charger to the charger input (IN) terminals of the module, and you’re ready to go. Remember, it’s always important to match your battery charger to cater the correct voltage and current for the battery you are charging.
- In power-on state, you can factory reset the module by pressing the UP and DOWN buttons simultaneously for around 3 seconds. Then it will show 888 in the LED display for a while. The default/factory values are 12V (start value) and 14.5V (stop value).
نظرات
دستهبندی: ماژول های کنترل شارژ و دشارژ